Application Reviewer
This tutorial is intended for Charter.Tools users who will be reviewing and evaluating charter school applications with Charter.Tools’ Application Tool.
Before you can become an Application Reviewer, you must have a user account. To get a user account, please request one from your School District
charter school support contact. If you’re not sure whom to contact in your district, you may request a user account via email to Charter.Tools’
support team using support@anvilar.com.
You can also request a reviewer account via Charter.Tools’ UserVoice by clicking on the orange question mark on any Charter.Tools screen.
Requests to Charter.Tools support email or UserVoice will be forwarded to the correct person in your district. Once an account is created for you,
you will receive an account activation link sent to the email address you provided. Click on the activation link to complete your account registration.
There are three Charter.Tools’ user account types (also known as user roles) that can review charter school applications. They are Supervisor, Monitor,
and Application Reviewer. All three user role types can take advantage of the same evaluation and print application features described in the
Reviewing Applications section below. To understand how to access a specific application to review, preview the
Accessing Applications for Review section show next.
Charter.Tools application reviewers access their applications for review based on their user role type. Supervisor and Monitor roles see the following dashboard screen when they login to Charter.Tools. If your user role is Application Reviewer, click here to continue.
Accessing Applications for Review
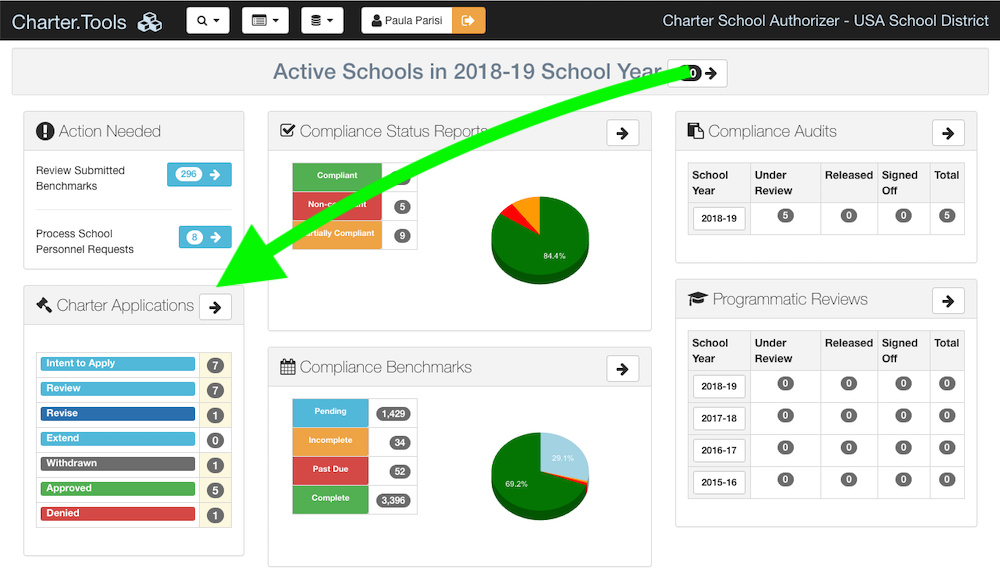
At a glance, Supervisors and Monitors can see the number of charter applications that were Withdrawn, in Review mode, in Revised mode, Approved, and Denied.
If you are a Supervisor or Monitor, click on the Charter Applications button in the upper-right-hand quadrant of the dashboard to interact with any current or archived applications.
The following is the application tool's main screen.

NOTE: Any user who was granted the role of Application Reviewer only (not a Supervisor or Monitor), will see this current/archived application detail screen immediately upon logging in to Charter.Tools.
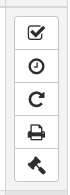 All pertinent application details, such as application reference number, school information, contact person, date, and status are displayed. Additionally, a vertical toolbar
of action buttons will be displayed on the right side of each application record. The availability of action buttons will vary depending on the user role and current status of the application.
All pertinent application details, such as application reference number, school information, contact person, date, and status are displayed. Additionally, a vertical toolbar
of action buttons will be displayed on the right side of each application record. The availability of action buttons will vary depending on the user role and current status of the application.
Action buttons are a common feature in the Charter.Tools' user interface. When you hover your mouse above any action button, a tooltip will appear with a short caption
that describes the action the button will perform.
Hover each available action button to learn about its purpose.
Click on the action button with the caption "Evaluate Application". 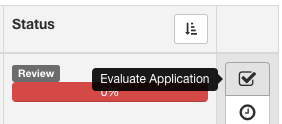
Reviewing Applications
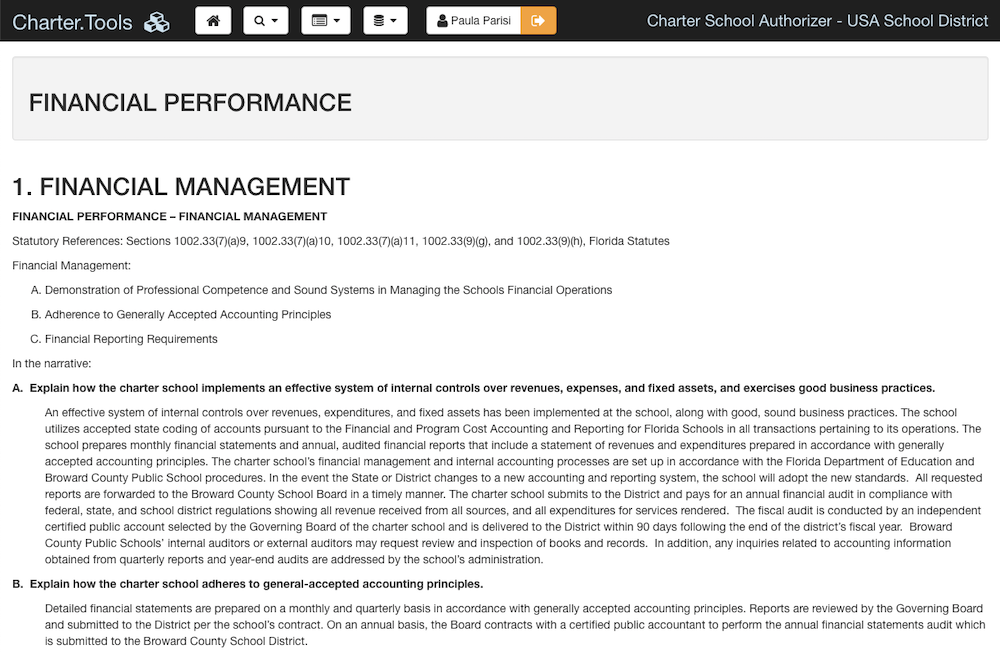
When you select an application to review by clicking on the Evaluate Application action button, the following information is presented.
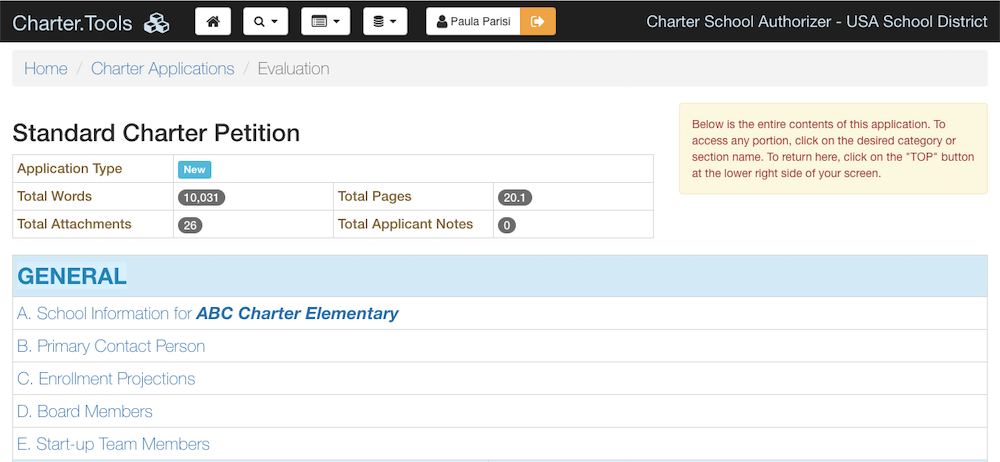
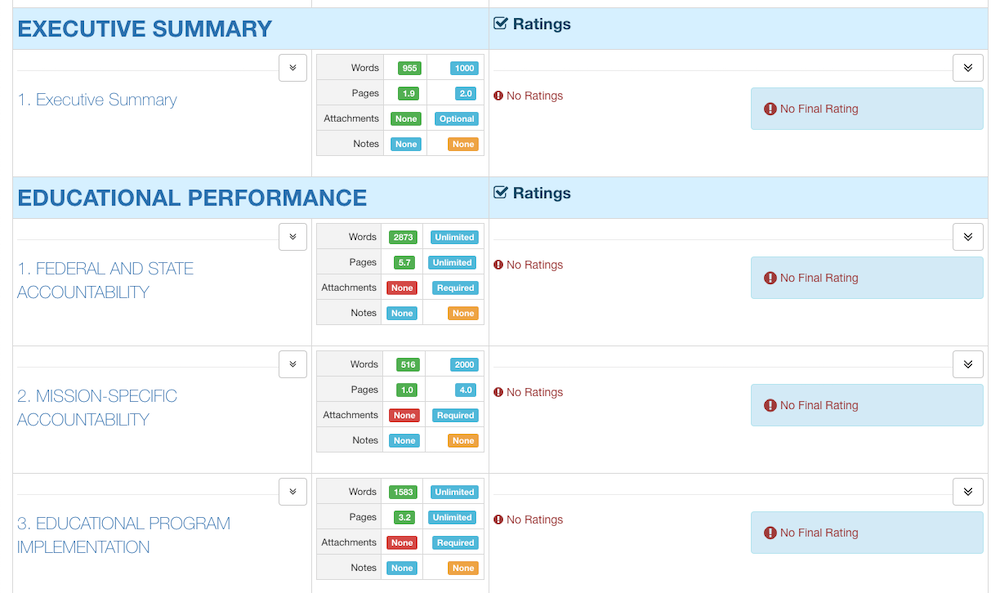
The next screen shot is a condensed view of one of the application's sections.
All sections have a similar structure and include the following (from top to bottom).
- Section Number and Title
-

- Section Content
-
This portion of a section includes the content that was provided by the applicant. Some examples of content include formatted text, tables, images, and links.
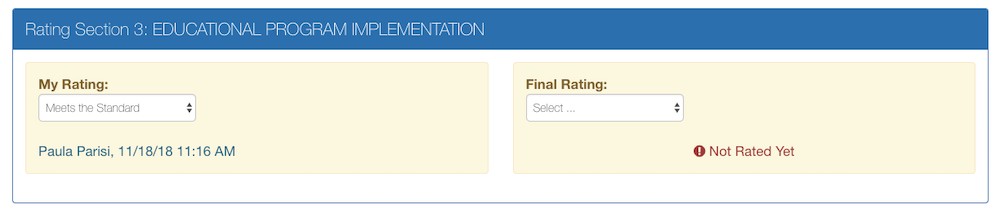
- My Rating and Final Ratings
-
Application Reviewer and Monitor user roles can set individual ratings (My Rating), while Supervisor roles can also set the Final Rating of a section. The list of rating options (also referred to as an Evaluation Rubric) in the dropdown control of a section are specific to how the section may be rated. Evaluation Rubrics can be different for each section. In the case of a section that does not require a rating, no Evaluation Rubric may be available.
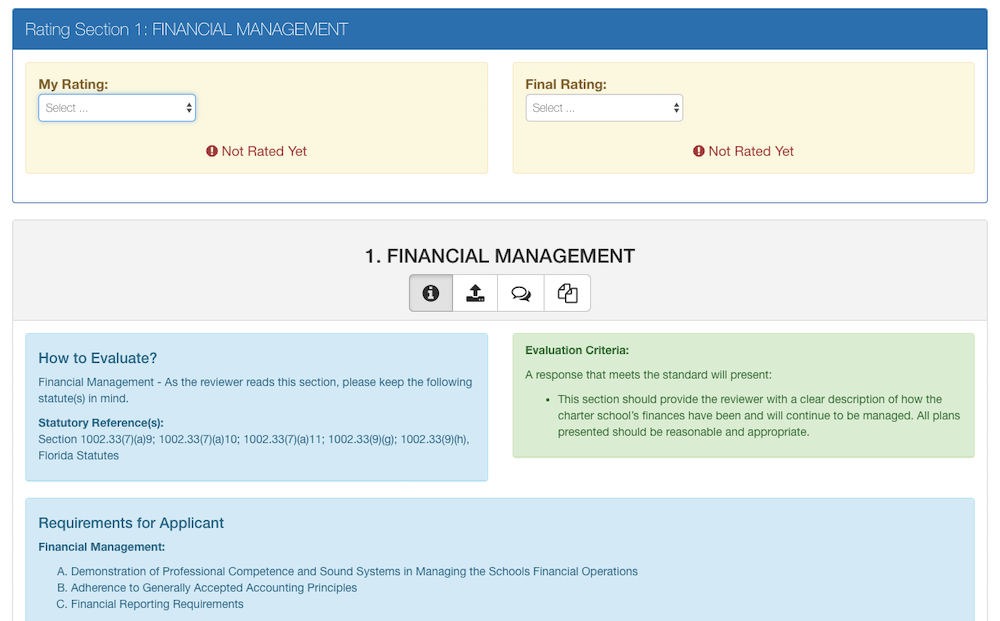
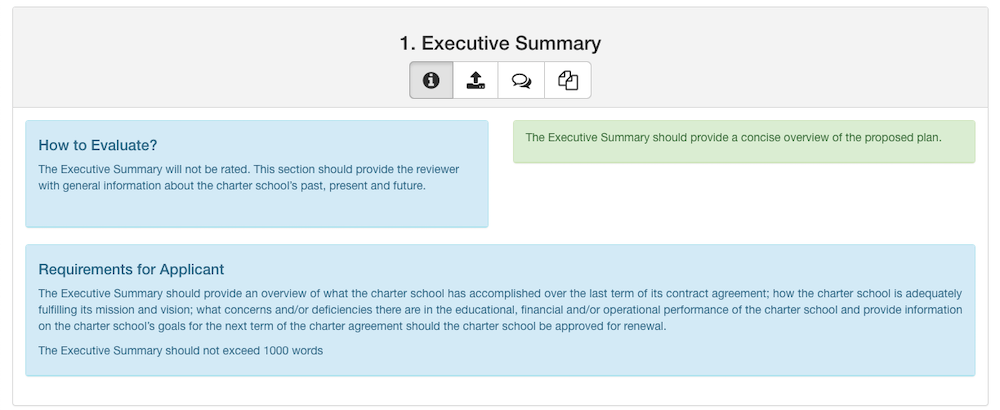
- Instructions
-
This part contains the instructions that were given to the applicant as well as instructions to reviewers on what to look for and how to determine the appropriate rating for the section.
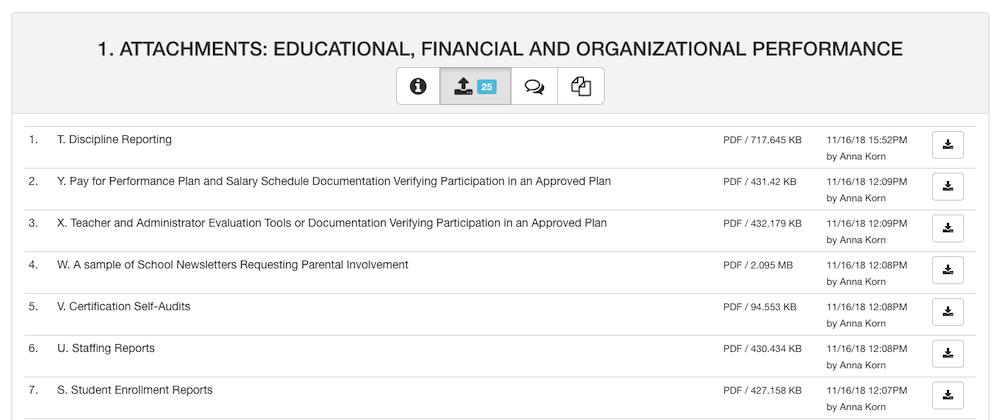
- Attachments
-
This part may be empty or contain one or more files that were uploaded by the applicant to fulfill the requirements of the section. If any files were uploaded by the applicant the number of available files will be displayed in parenthesis.
- Notes
-
This part may be empty or contain one or more threads of notes from the applicants or other reviewers who already reviewed this section. If any notes were created for the section the number of notes will be displayed in parenthesis. A more detailed coverage of the Notes Tab is provided in the Posting Notes section.
- Files
-
This part may be empty or contain one or more files that were provided to the applicant to fulfill the requirements of the section. If any files were provided to the applicant the number of provided files will be displayed in parenthesis.
Rating a Reviewed Section
After you carefully read the section's content and reviewed any attached files, you may be ready to rate the section. Simply select the desired rating from the dropdown list. Your rating selection is automatically saved and if you've changed your mind just select a different rating or clear your rating by selecting the first empty option ("Select ...").

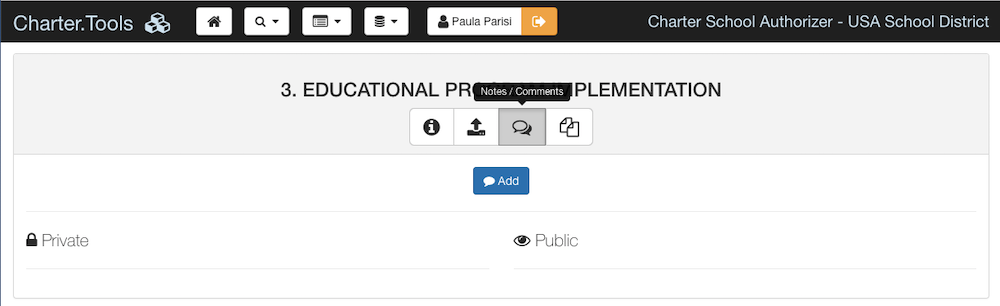
Posting Notes
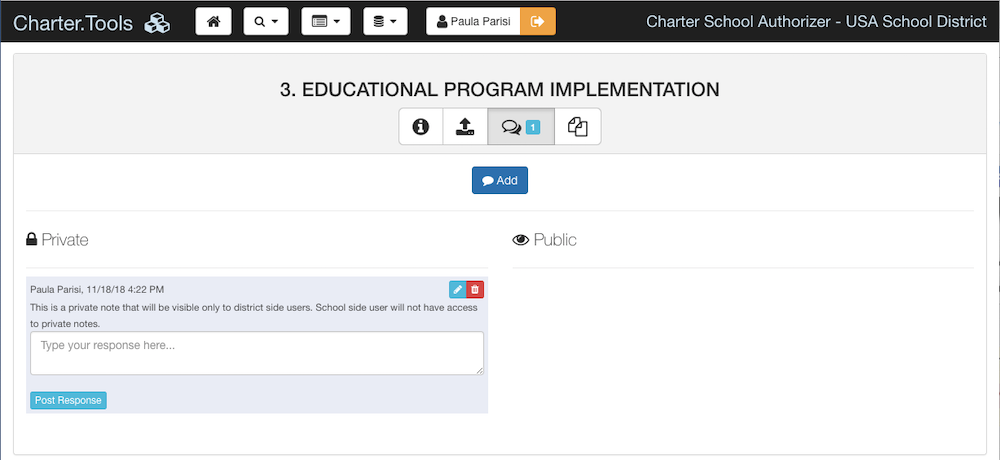
If you want to post a note while reviewing a section, click the Notes tab header for the section you would like to post the note to. Once the notes area is displayed, click the Add New Note button.
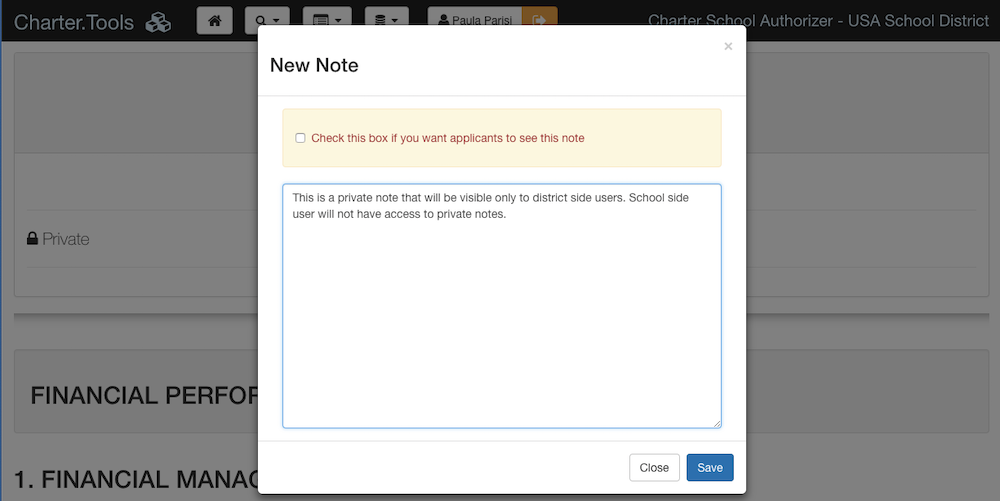
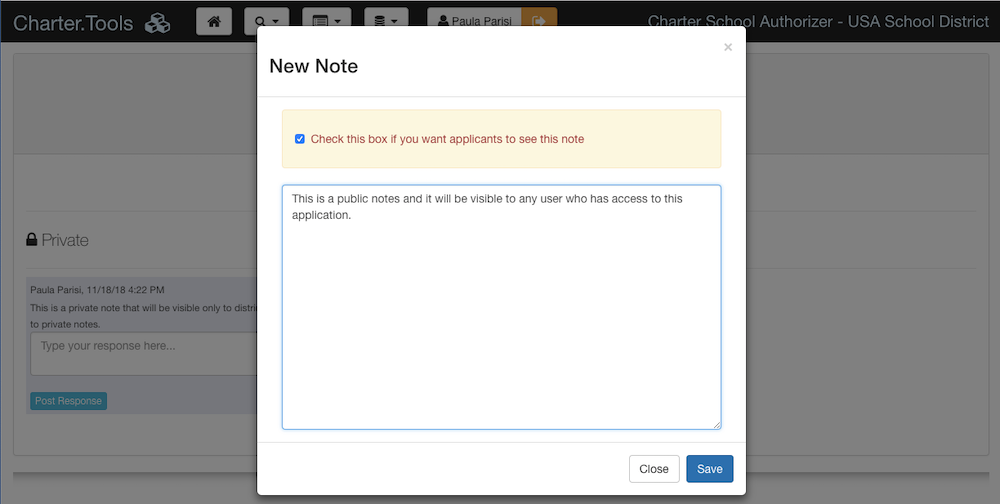
Once the Note editor window is available, enter your desired Note in the text box. At the top of the Note editor you can select if you want your Note to be public or private. Public Notes are visible to applicants while private Notes are internal to reviewers (applicants won’t see them). The default is private Notes. Once you have finished creating your Note and selecting the desired privacy setting, click the Save button to submit your Note.
All internal (private) notes will be placed on the left side of the notes tab.
Here is an example of a public Note. Click the Add New Note button. When the Note editor window appears, check the box to allow applicants to see your public Note. Enter your text and then click Save to submit your Note.
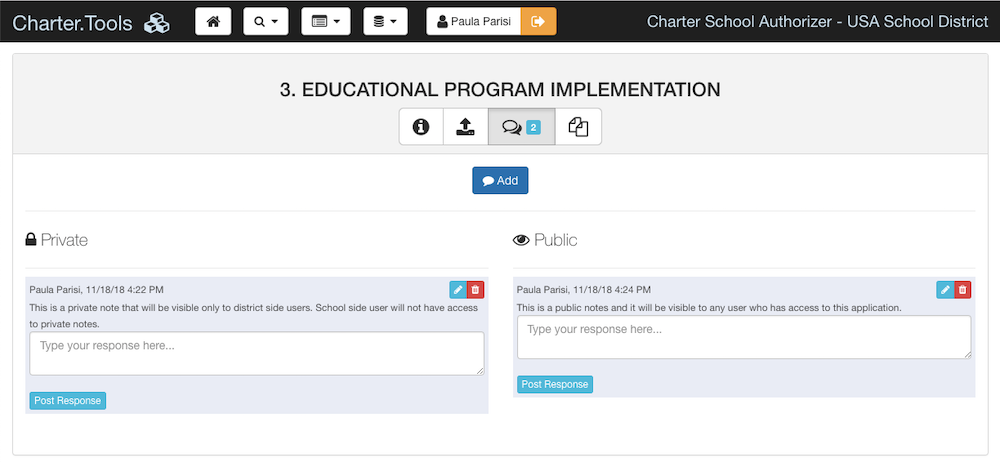
Public notes are placed on the right side of the Notes tab. You can edit or delete Notes that you have posted. You can also respond to an existing Note by click the Post Response button. When editing an existing Note, you can change its visibility from private to public and vice versa.